Pages

Showing posts with label Crafts. Show all posts

Monday, August 29, 2011

Baby Shower Ideas

Over the summer I had the opportunity to plan and host my best cousins baby shower. She is more like a sister than a cousin so I really wanted to get creative and make this the best experience for her ever! She lives about an hour away and her friends and family are scattered around so we knew that there would be no good place to have the shower. To make it easy on her (it is her day after all) I called Macaroni Grill, a local upscale restaurant and reserved a room there.
They were so kind and allowed me to bring in decorations and cake.
Because I hosted the shower in a restaurant I was limited on what I could do for decoration.I chose the less is more
moto and used items such as the cake and gifts, plates and appetizers to help set the style. She picked the colors hot pink and lime green and let me run with the rest.
I love doing these kind of things! I get to be crafty and serve others which are the two things I love to do most!

{Decorations & Inspiration}

I created place settings using newborn diapers, ribbon and handmade name tags.
And everyone got a delicious handmade onzie sugar cookie!
YUMMY

The blogger famous tissue balls got used on the fireplace which was the backdrop for my cousin.

on the left To keep it simple for the restaurant I had cupcakes made that matched her "mommy cake"
on the right Her mom made the super cute diaper cake!
The picture does NOT do it justice this is seriously the cutest thing ever!

The "mommy cake"
The cake company captured exactly what I wanted!

Simple, but classy which is what she is all about!

Macaroni Grill allows you to write on the paper table liner, because we were so sweet they let us keep it too! So I used it as a sign in and had all the guests write kind notes to mommy and baby.

More tissue balls, such an easy decoration that gave such a big impact!

Mommy to be and Gramma to be
 I wanted them both to feel special and set apart (having a baby isn't enough) so I made them mums to make sure the whole restaurant knew who they were!

As the hostess I felt I needed to match the decorations...
I totally did not plan that, I got there and she said "hey you blend!"


{Games}

How big do you think she is? Why do we feel the need to embarrass people?

After you read all those baby mags you get from the time your day 1 prego,
use them to have the guests "design" your baby!

This is probably the funniest game EVER! Fill diapers with various melted chocolate bars and let the guests smell the "poo" to determine what candy bar it is!

I do not have any tutorials on the items I made, however if you would like to know just ask and I can send you a tut!


I linked up at:
Somewhat Simple

Saturday, August 27, 2011

award mania & a restoration hardware duplicate

My oldest son has tons of awards, field day awards, football awards, 5k awards...
awards and trophies line any available shelf in his room. Now that he is in middle school I am trying to get him to dwindle down the awards so that he can start over. He picked his 10 favorite trophies and they are on the window sill, he also picked his favorite ribbon awards and they got a special place too! 
I originally saw this idea in the Restoration Hardware baby and child catalog (summer edition) and wanted to duplicate it for him.I tried to find it on their website to get a picture of what I was copying but I cant find it...sorry guys!

This is how my version turned out! 
I got two black frames from Wal Mart for $3 each and sanded the edges to give them a weathered look

inserted the ribbons and voila!
 

Linking up to:

Tickled Pink at 504 Main


Tuesday, August 23, 2011

the new and improved scarfalace

I have jumped on the upcycled bandwagon!
I was bored this morning and wanted to do something that wouldn't take long, so I grabbed an old orange
t-shirt, a pair of scissors and began cutting. And now I have this!

  What you need:
old stretchy but not ribbed t-shirt
scissors
20 minutes

Cut the shirt horizontal in different sizes until you reach the armpit, collect a few pieces at a time and begin stretching. Stretch some real far and some just a quick stretch. They will roll up and hid any imperfections from the scissors. After you are done stretching, gather them all together and tie with one of the spare pieces.


The result is a fantastically chic scarfalace!
Pair with a necklace and tank top for a casual but fun look! 


Has anyone else made one of these fab scarfalaces yet? Leave your link to share your ideas!


Wednesday, April 27, 2011

DIY Flower Broches/Hair Clips

Happy Wednesday! I hope that every one had an amazing Easter weekend with your family, I know we did. Keeping with Campbell tradition we got up, worshiped our AWESOME Lord then went to my MIL's house for lunch and Easter egg hunt. We keep thinking that all the kids are getting to old, but they love it and my husband, brother and myself always have fun hiding the eggs.

So now that its all over and we are holiday free for a small bit I got a fun little project done!
As much as I did NOT want to jump on the flower/bow thingy in the hair band wagon I have!
I scored two really great items at Sam Moon (the most amazing store EVER!) for a buck each and LOOOOOVEEE them.
My hair is finally long enough to wear in a lower side ponytail and I clip these pretty little things in!
What I love about these is that they have three different ways you can attach them.
Rubber band, Clip or Pin for your shirt! 
Cute!
So....that inspired me to make some of my own. I grabbed a sheer top I never wear anymore, some extra buttons I had lying around and some fabric I had bought to make a rag wreath....(never got around to that...) and got to crafting.
I started by cutting out two different size circles from the sheer top.
Then I applied a dab of hot glue to the middle of the small circle and bunched it up in the middle, I was going for a ruffled look.
I then applied a small dab of hot glue to the bigger circle and pressed it on to the smaller circle. 
I applied small amounts of hot glue around the circles, bunching and attaching in random places until I got the look I wanted.
And of coarse last but not least I glued the button on top. 

For the next one I followed the same steps as above, except I used three circles all different sizes!
 Easy peasy!!! I mean really, the biggest pain of this was burning myself on the glue!
And now I have two cute flower things I can attached to my tops with a safety pin!


What do you think?? I know what my new craft hobby is now!
Give it a try and link back so I can see what you made!

Jen 

Linked to:


mommahenscoop
Photobucket


The Trendy Treehouse

Friday, April 8, 2011

Spring Pennant Centerpiece

I saw this project while perusing Embellishing Life and HAD to copy it! Thanks Embellishing Life!
Her's was a fall themed centerpiece so cute CLICK HERE to check it out!
Because I just recently found it I decided I wanted to make my pennants with bright springy scrapbook paper that can work around my house for the next few months. On a mission I went to Hobby Lobby and found some really great paper (I am never on a mission when I go there but I have to say I was so excited to make these puppies I was in and out in record time)!

Here's how I made my pennants and what I used:
5 different scrapbook papers
twine
hole puncher
dowles (whatever size you want)
glue stick
scissors

I started by making a pennant stencil.

Fold each paper in half and lay your stencil on the folded edge, trace and cut.
Doing it this way allows you to have color paper on both sides.

Glue paper together, hole punch, and then tie your pennant to the stick with the twine.

This project seriously took me 20 minutes.
The longest part was tying them to the sticks.

Then put them in whatever container you want! I currently have them in tarnished silver goblets full of sand on my mantle. The sand keeps them in place. I have even thought about for Easter, getting the fake grass we put in our kids baskets and filling up a vase with it and putting them in there for the centerpiece.
Possibillities are endless!

What do you think? Jelly beans maybe or shells?

Jen

Linked up at


monogram


Tuesday, April 5, 2011

Wrong way spray painting the Right way

I am a self proclaimed lazy spray painter. There is just no other way around it. I want the quickest way to the final product and that does NOT include primer and waiting for each coat to dry. I know one day this is going to bite me in the butt, but for these projects it worked in my favor.

All I had to do in both projects was:
1. Grab my trusty can of Valspar spray paint.
 2. Apply 4 coats of spray paint, waiting 5 minutes or less in between coats. 
3. Wait 1 hour after the final application.
4. And sand to achieve desired effect, while not panicking.

The first of these projects I did this way was the candle sticks, and I have to admit when I started sanding and the spray paint started stripping off as heavy as it did, I was worried I had severely messed up my candle sticks. But the final product, which was to look like the PB candle sticks, was better than I anticipated. I have gotten tons of compliments on them and I really like them so I count it a success! 

When I attacked the bird house I did it the same way. The only difference was I lightly sanded the bird house first, which helped the spray paint to adhere a bit better. Still though I did not use primer and did not wait in between coats for the paint to dry. To me it looks great too! And again tons of compliments, so score #2 for spray painting the wrong way!

 
Obviously there are times when this "look" is not what your going after and primer is a must but I really like the look these two projects have. So there you have it, spray painting the wrong way can sometimes be the right way to do it!
 Let me know if you try your hand at this or if you have, did you like what it turned out like?

Jen

Monday, March 21, 2011

Burlap that sheds and a spilled cup of milk

I fell in love with burlap like most blogland and I created this beauty...
so I thought beauty...
I have to admit I have been secretly having love/hate feelings for my pretty table runners. I love them when I look at them, but I hate them when we need to use the table for dinner.
Burlap is sooooo messy! It sheds relentlessly, I had hoped the shedding would stop but it doesn't and every time I have to move the darn runners I kick myself for loving them so much. Hubby has hated them from the time he laid eyes on them which makes admitting I hate them even harder.
Last night at dinner I decided I would just put our dinner place mats over the runners instead of taking them whole thing off like I usually do every night. A very unfortunate accident happened with in the first 20 seconds of sitting at the table...my son spilled his milk all over them. Fortunately burlap is resilient and did not stain but once they were off for the night I rekindled my love for my empty table top scratches and all. So now my table is naked, but it's OK I'm actually lovin it!

So naturally I have to ask all my burlap lovin friends, does your burlap shed and what do you about it?
Is it decorating is painful so live with it or is there some crazy trick I missed along the way. Becausee I have to say if there is not, I am not diggin the burlap so much on this table. Now on my dining table, that we hardly ever use or wreaths or other projects FAB idea, just not here on this table.

Jen

Thursday, March 17, 2011

Got Letters ~ Gotta Frame!

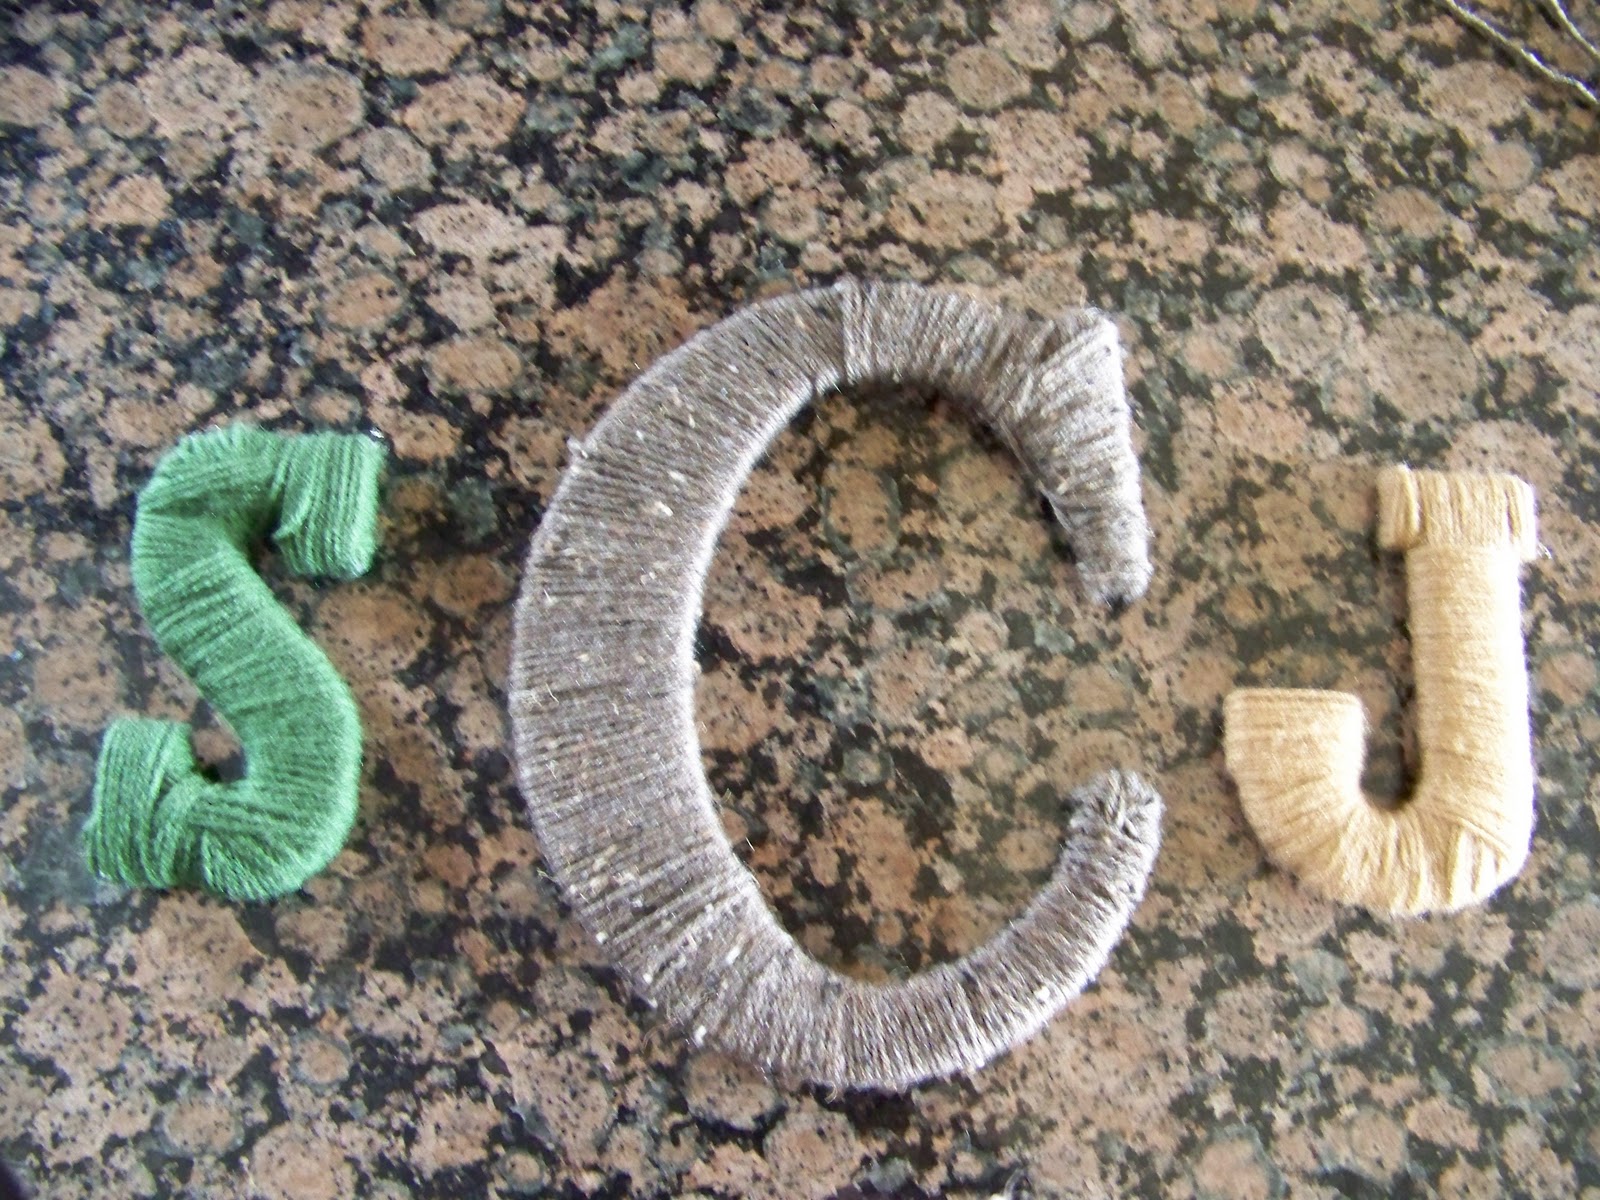
A few months ago I made these pretty yarn letters(click here to read post)  for my master bedroom.

After I hung them they looked lonely...

And ever since I have been on the look out for the perfect frame for the perfect price.
Today I found the PERFECT frame...at Goodwill...for $3! HECK YEA!
 I am so excited.
So excited that I forgot to take a before picture. Not much of a change really, just a quick sanding and then some stain. I have a gallon of our cabinet stain left so I use it for EVERYTHING!
 I was going to paint it cream and then distress it some. But once I got the brown on I didnt want to touch it.
And now my once lonely letters are lonely no more!


I tried to get a good picture of the frame, but it wasnt agreeing with me. It is a really deep large frame.
It is much bigger and thicker than it looks.

What do ya'll think? Could it use anything else?

Jen

linking up to:
A Little Knick Knack


Related Posts Plugin for WordPress, Blogger...