
My dream came true and it's better than expected!
It's not often that I have a vision and my follow through actually lives up to and surpasses my vision. But this time it has. Last weekend I posted about what I wanted for my kitchen table (click here to see last weekends post), and with the winnings I scored playing Bunko last night I was able to make it happen. However, like every great idea there always comes snags. Fortunatly none were to big....I originally wanted the darker brown burlap, ya know the normal color of burlap, but it seems no local stores were carrying it, sooooo I improvised and purchased the cream colored burlap instead, after all my fireplace is the Austin Stone which is a very creamy color and WOW, it's awsome (the runner not the fireplace...we love that to but right now I'm just excited about the table)....the other snag was I had also wanted hygengras but good ol Hobby Lobby had these pretty Calla Lillies on sale for 50% off making them $1 each and the hygengras were still gonna be $4 each on sale...so I snatched up all the Calla Lillies they had ( I do realize I need more to fill my vase, it was all they had. I will get more next week.)
Anyyyy whoooo...no need for me to continue rambling on and on let me just show you!!!

Ain't she purdy ya'll!

A big giant #1 for my hubby!

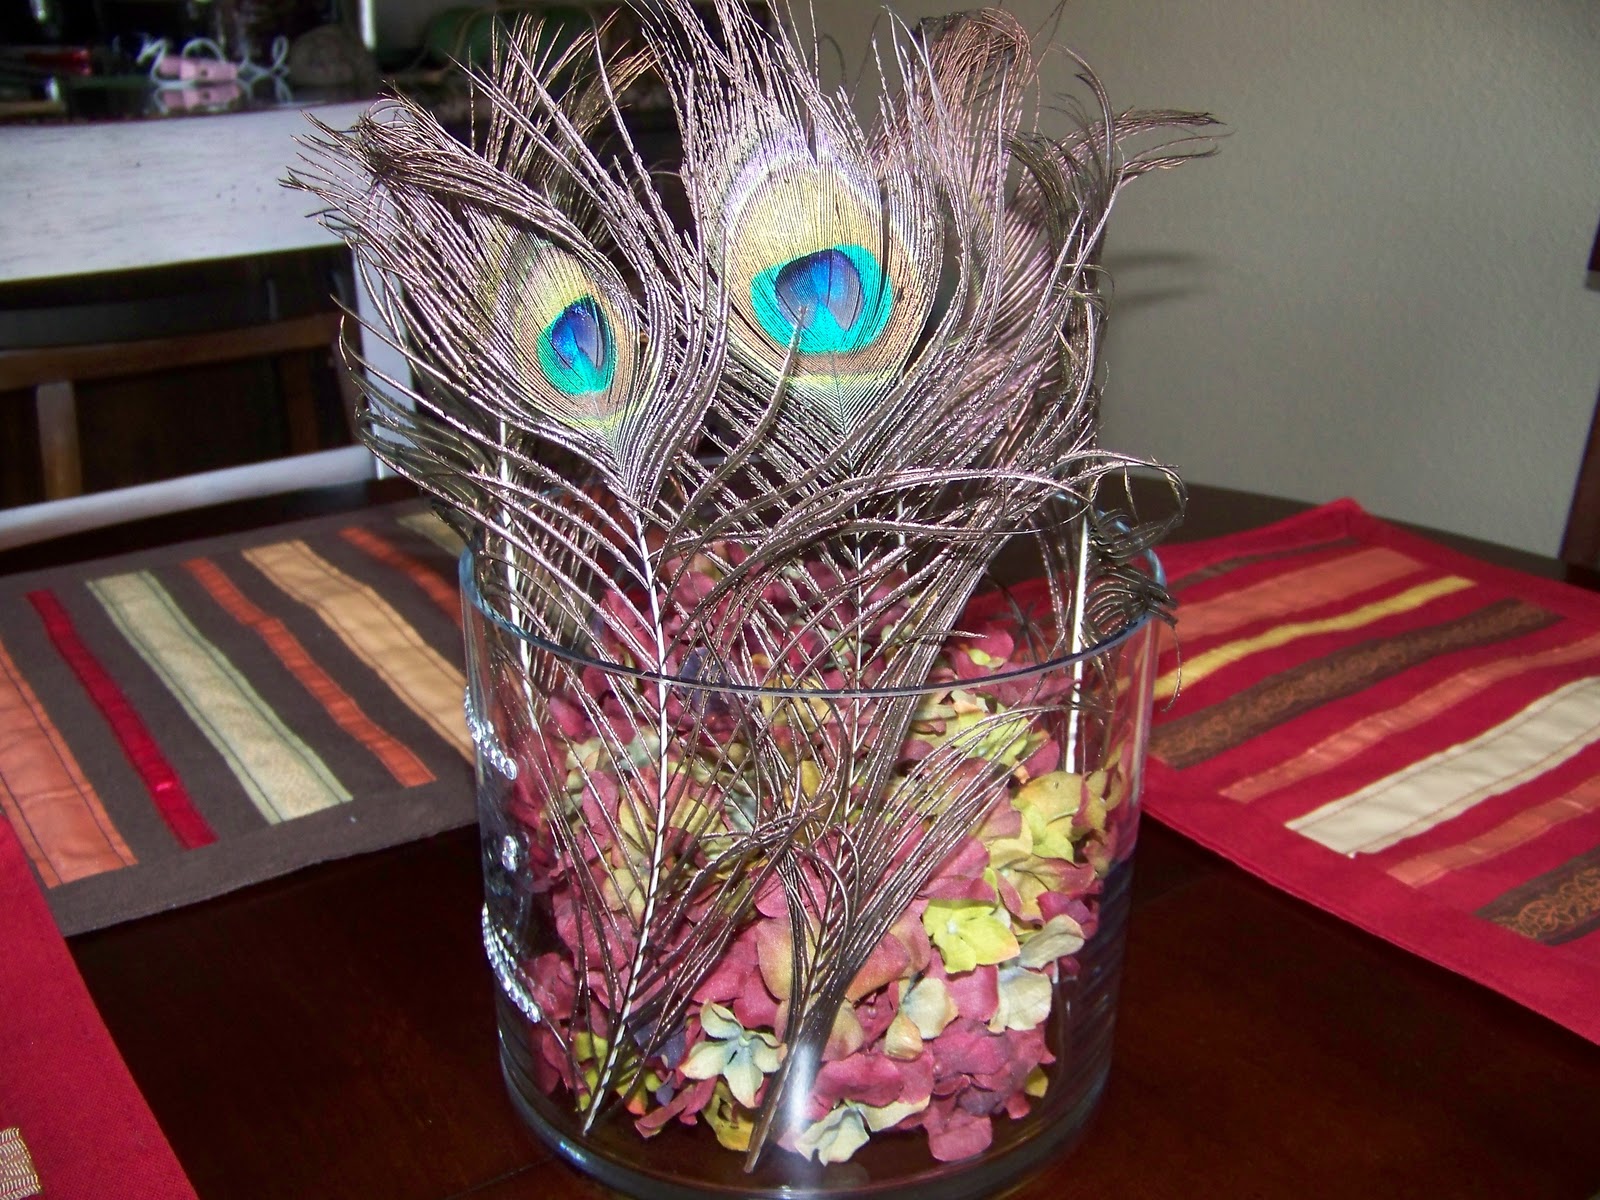
I am just all googly eyed when I look at this...
and
This....

I think it's my new fav thing!!! My first shot of spring, thank goodness! I need a
big shot of green in my house to lift us up after all the snow!
It was seriously the EASIEST thing EVER to do!
Items Needed:
burlap - amount depends on the size runner you want. I got 2 yards
black acrylic paint
foam brush
stencils
scissors
Ok, so I bought a bit too much burlap...oh well. Start by laying it out on a flat surface (like the floor). I used an old runner that we had measure. Cut out 2 runners of equal size.

I laid my runners on the table just as I wanted them to look so that I knew where to place the numbers. Place the stecil on the burlap and dab the paint carefully into the stencil.
VERY IMPORTANT: Be sure to put something under the burlap to catch the paint!

Once your done painting the stencil, life and admire.
AWE SOOO PRETTY!

Repeat for #'s 2-4 and any other stenciling you want to do.

See what I mean! Easy Peasy Lemon Squeezy,
Before
and
After

The only other thing I have left to do it paint the charges I bought with chalkboard paint, but I really love it so much the way it is I'm not sure if I will use the chargers. I think if I put A, B, C, D on the charges it would be a fun change. I dunno. What do ya'll think, charger or no charger??
Jen
I am linking this post to:


5 comments:
Ooooh, I really like it! Very nice. I think it looks great just as it is. Great job!
This is so nice! I would love it if you joined our link party over here: http://www.bubblynaturecreations.com/2011/02/project-party-weekend-heart-shaped-ice.html
Have a great weekend!
What a great idea to have 2 table runners! It looks so cute!
Thanks for sharing in FFA!
Hannah
super fun! never woulda thought of putting numbers at the table. love it!
replica bags bangkok replica hermes handbags x2v10y2t83 replica bags nyc replica bags in delhi site here u9a95u5b41 replica bags review replica bags philippines greenhills replica gucci v9y65k0m20 replica bags australia
Post a Comment